Do you want to know how to get approval from Google AdSense and start earning money from your blog?
Google AdSense is one of the most popular advertising networks to monetize your blog and earn money through it. You can become an AdSense publisher by applying for an account and then adding code to your blog’s HTML. There are many steps in the application process and you will need to provide Google with a detailed description of your website.
In this article, we will be discussing how to get approval from Google AdSense. We will cover the basics, such as what is required to apply, and also some of the things you can do to increase your chances of being approved.
How To Get Approval From Google AdSense
Google does not accept all websites that apply for its AdSense program. It selects websites that they believe will benefit advertisers the most while maintaining the reputation of high-quality publishers.
After having gotten the approval for many websites in the past, we know what it takes.
If you are a beginner, this article will help you get Google AdSense approval and open the door to earning.
What is Required to Apply for Google AdSense?
Before you apply for Google AdSense, you will need to have a few things ready. If you upload videos to YouTube, you can use the same AdSense account to monetize your videos.
To apply for the AdSense account, you’ll need to provide a valid Google account, your business name, contact information, and a website address. Additionally, you will need to provide information about your website traffic and earnings.
Things to Keep in Mind Before Applying for Google AdSense
There are a few things you should keep in mind before applying for Google Adsense. First and foremost, you will need a website with a valid domain name and a content strategy that meets the guidelines of Google Adsense. You will also need to ensure that your website is up-to-date and compliant with all Google Adsense policies.
To make your website compliant with Google policies, you’ll need to make that your website doesn’t contain any copyrighted material. If you are using resources from external websites, make sure to give proper credits wherever applicable.
You should also ensure that your website has clean code and is easily accessible. A website that loads quickly is an indication of well-optimized code.
Along with that, you need to produce some high-quality content on the website. We found that websites with more than 30 long-form articles usually get approval from AdSense.
You should also ensure that your website has a domain rating. The Domain Rating indicates the authority of your website on the internet.
Finally, you will need to provide Google with accurate information about your website and audience.
How to Apply for Google AdSense
You can increase your chance of getting Google AdSense approval if you follow the below step-by-step tutorial.
It will ensure that you don’t miss out on anything that’s important for approval.
1. Sign Up For A Google Adsense Account
The first thing we need to do is to sign up for a AdSense account using your Google account.
Go to AdSense website and click on Get Started in the header.

You’ll need to use your Gmail account to set up the AdSense account. If you don’t already have it, you should get it. It is also free, just like Google AdSense.
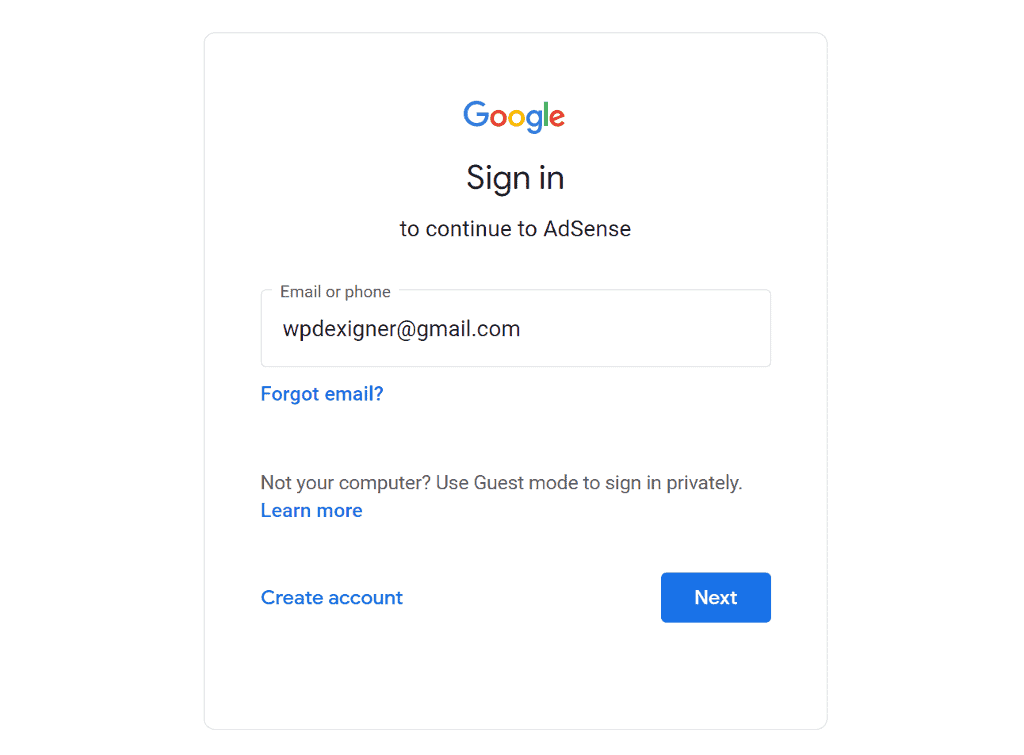
I already have a Gmail account that is not connected at all with AdSense. So I will start from scratch and apply for AdSense for this website.
After logging into your Google account, you’ll be prompted to enter your website’s information, select your country of residence, and accept the AdSense terms and conditions.
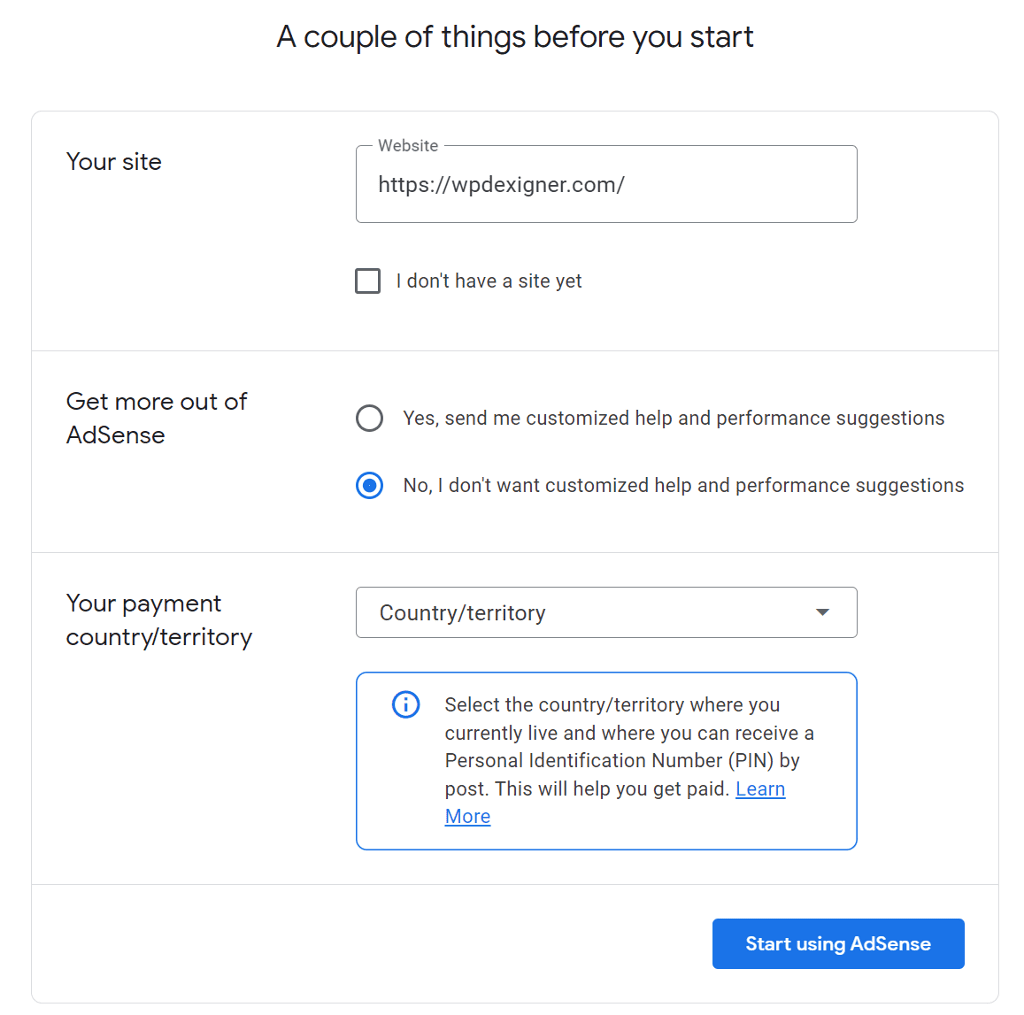
If you don’t yet have a website, check the box ‘I don’t have a site yet.’
Finally, click on the ‘Start using AdSense‘ button at the bottom. You’ll be taken to the Google AdSense dashboard, where you’ll need to provide additional information before submitting your website for review.
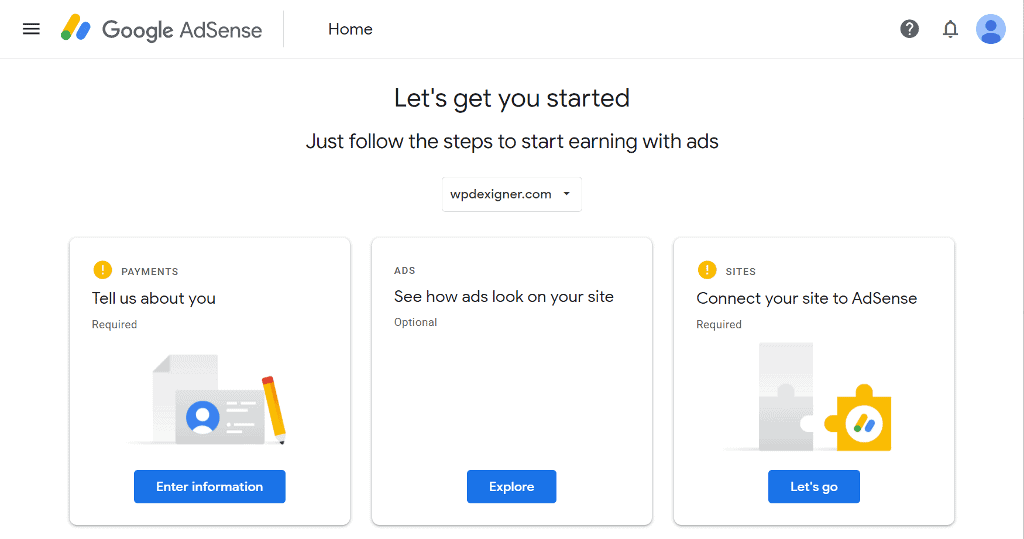
2. Enter Your Payment Information
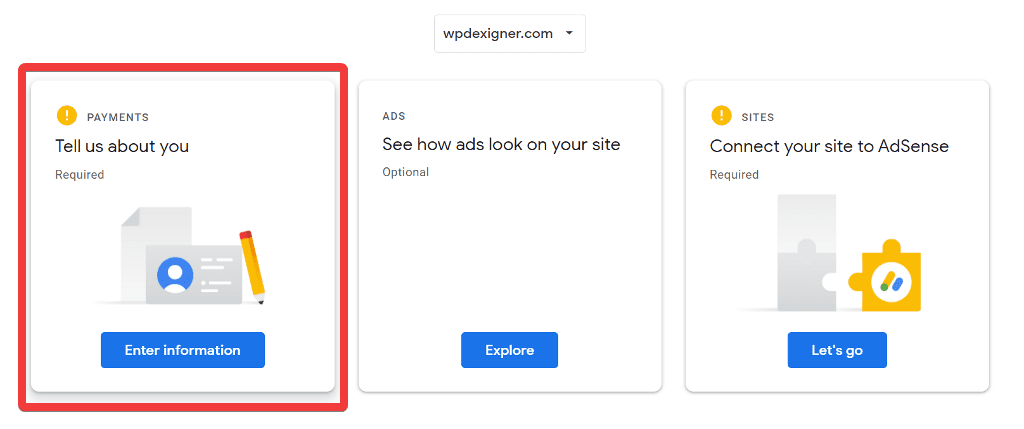
From the three cards that appear, you need to click on ‘Enter information‘ button on the first card.
On the new page, select the account type. If you are a blogger, choose Individual, or if you have a registered business, choose Business.
Next, if you chose Business as the type, enter your business name, full name, and full address for communication. Make sure you enter the correct address, as Google will send you a physical mail to confirm your identity and issue payments later.

After you confirm all the details are correct, click on Submit button at the bottom.
3. Install Google Site Kit and Connect Your Website
Google Site Kit is a free tool that helps you create and manage your websites. It lets you easily connect your WordPress website with Google AdSense and automatically place ad codes on every page of the website.
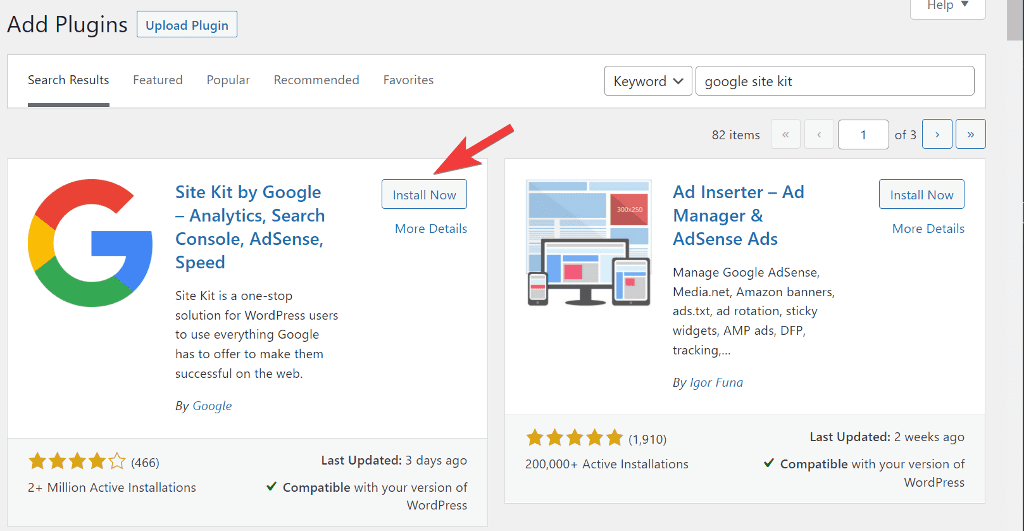
From your WordPress dashboard, go to Plugins → Add New and search for Google Site Kit. Install and Activate the plugin.
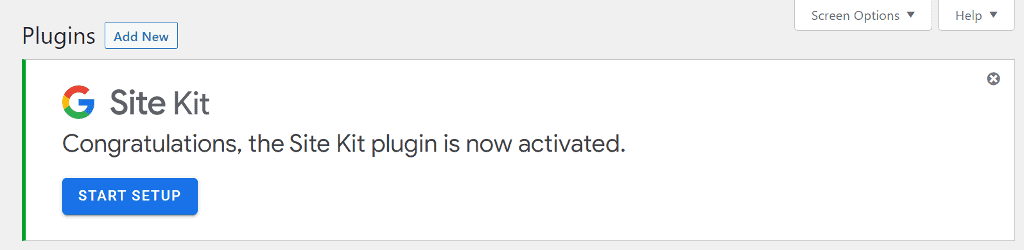
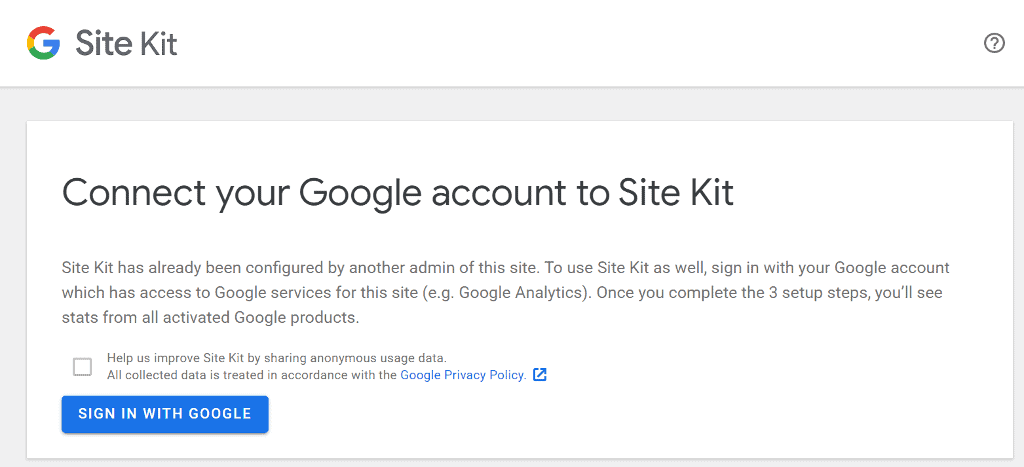
On the plugins page, you’ll notice a Google Site Kit banner at the top. To connect your website with Google AdSense, click the Start Setup button.
On the next page, sign in with the same Google account that you used to create Google AdSense and link it to Google Site Kit.
Give access to all the permissions the Site Kit plugin requires and complete the setup wizard.
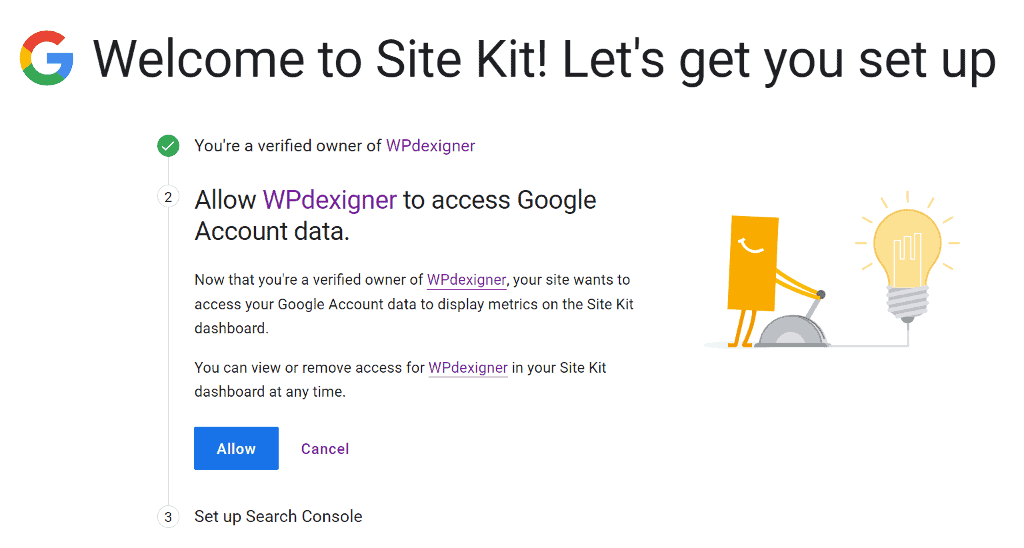
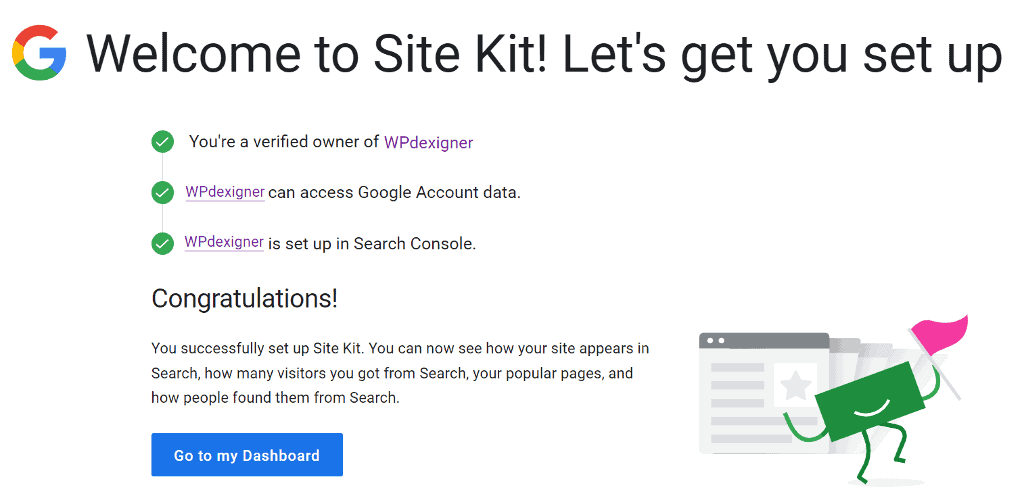
If you don’t have a Google Search Console account for your website yet, Site Kit will create one for you. The Google Search Console is a great tool to keep track of how your website performs in Google search. If you already have an account, it will take you to the last step.
Next, click on Go to my Dashboard to return to the Site Kit page on your website.
A few Google services will be visible on your WordPress website as connect. Google AdSense will not be among them. Because we want to connect Google AdSense, click the Connect Service button for it.
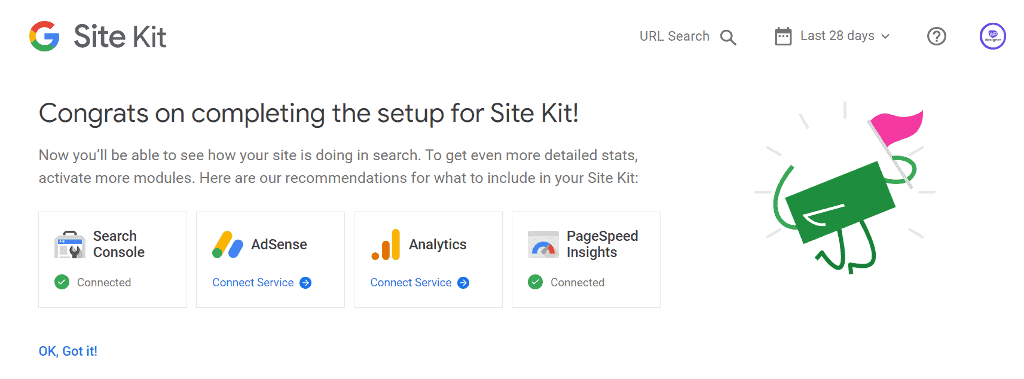
Site Kit will connect to your AdSense account and place code on every page of your website. Make sure to keep the toggle on for the automatic code placement to work properly.
Click on Continue to complete the setup wizard.
Now that we have connected the website, let’s add important pages to the website that are necessary for AdSense approval.
4. Add About, Contact and Legal Pages to The Website
There are a few pages that are required on every business website. You must have an about page that tells the story and introduces the person behind your website.
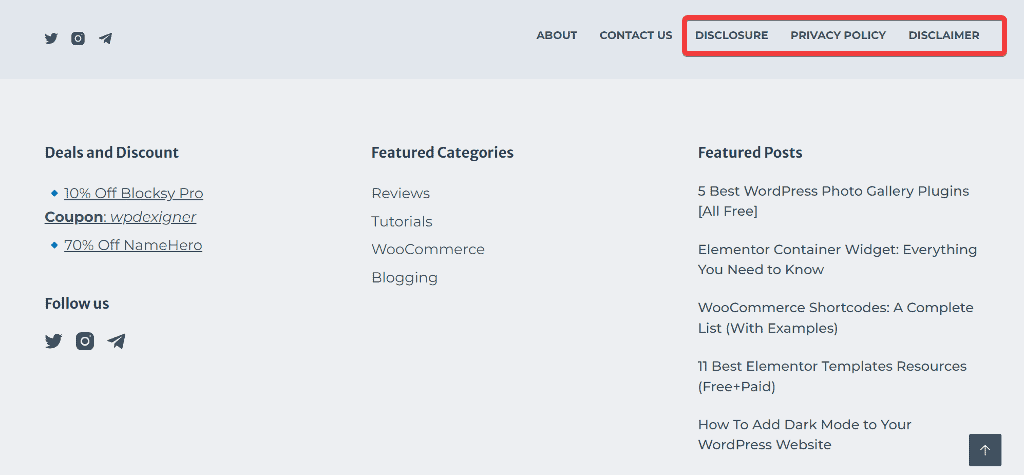
There are some legal pages as well, such as the Privacy Policy, Disclaimer, and Terms and Conditions.
I am no legal expert, but you can create legal pages for your website using an online legal documents generator.
All you have to do is enter information about your website and you’ll have a copy of the legal pages in a matter of seconds.
You can copy the legal content and publish it as pages on your website. It is best to include links to all legal pages in the footer for easy access.
5. Configure Auto Ads on Google AdSense
The Site Kit plugin has enabled us to place the AdSense code in the header of the website. In order to show ads at relevant spots on pages, you must manually insert the ad code.
You can avoid the manual work to save time and configure Auto Ads on your website. Google AdSense will scan content on your website and place ads on relevant spots that users will find useful and likely to click.
From the Google AdSense page, navigate to Ads → Overview, and under the By Sites tab, click on the pencil icon next to the name of your website.
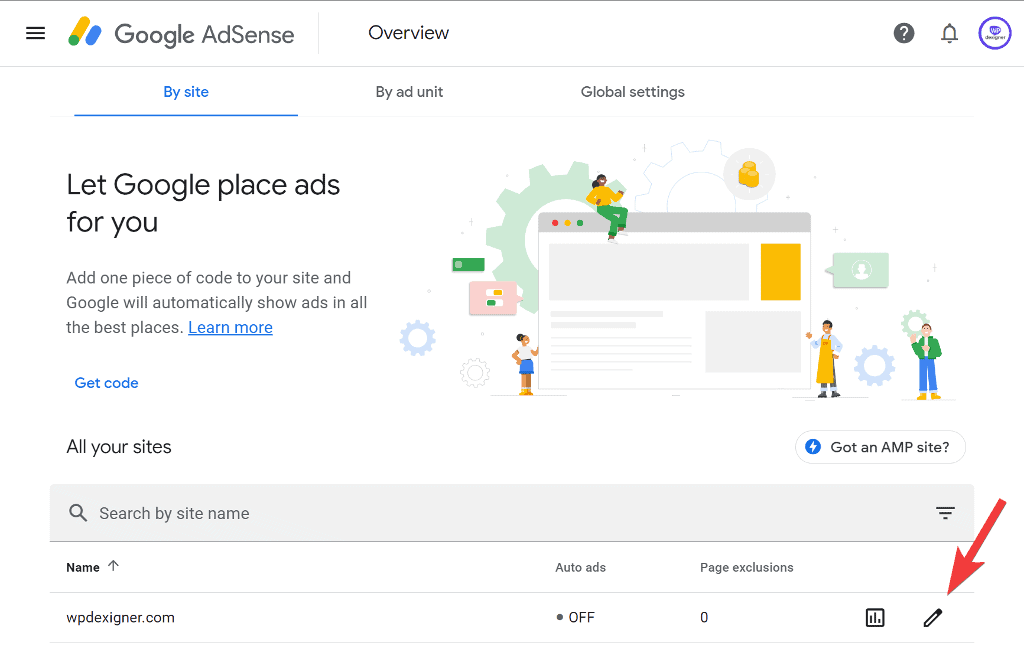
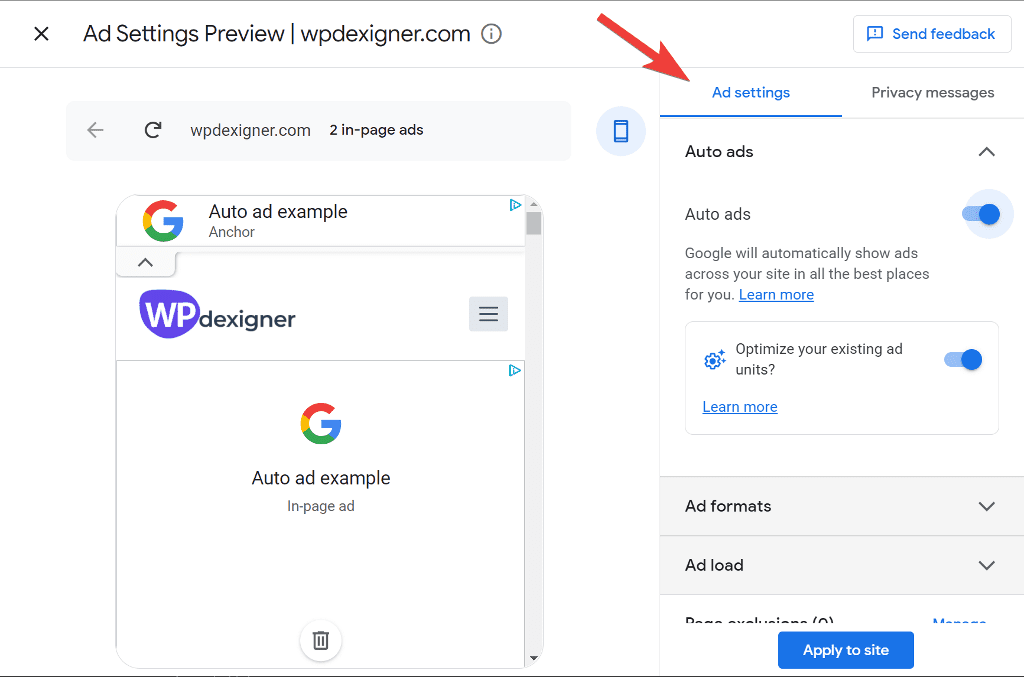
It will open a preview of your website and will show you how ads will look on your website.
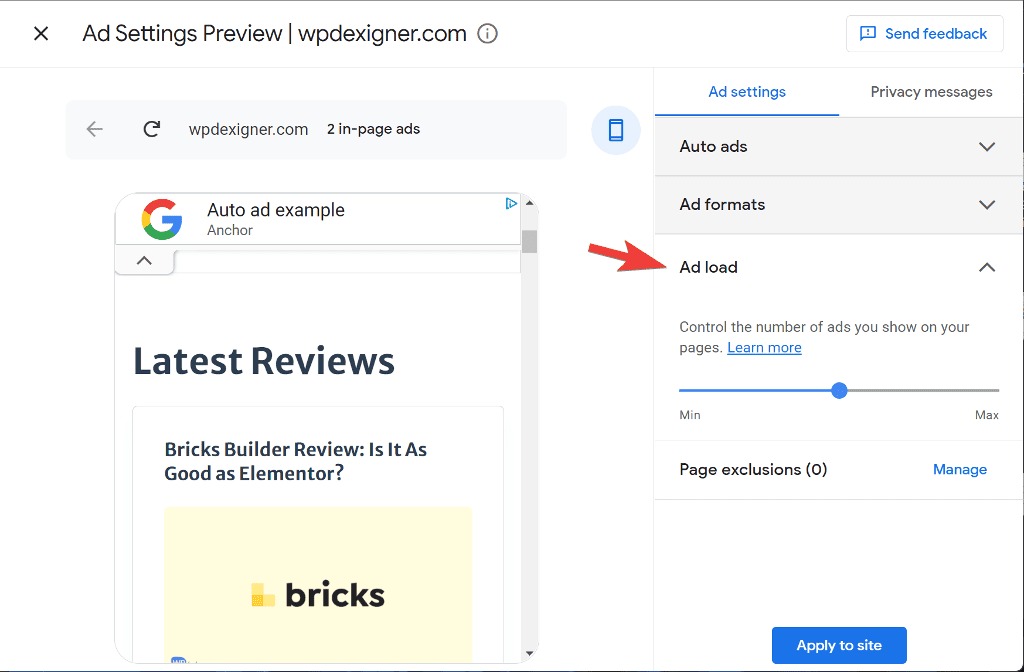
On the right sidebar, you’ll see settings to configure the auto ads. You can toggle the first Auto Ads option to enable it.
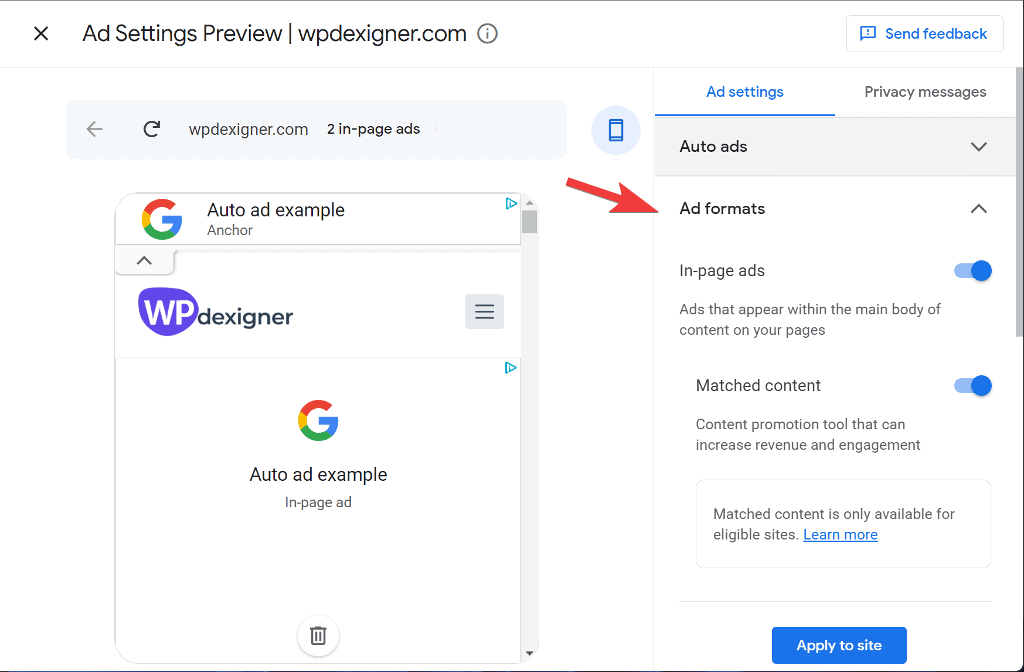
The next step is to choose which ad formats to display as auto ads. Expand the Ad formats tab and toggle on the ads you want to see while turning off the rest.
Next, you can choose how many ads you want to display on the site. I recommend that you keep the slider in the middle because it will not negatively impact user experience with too many ads and also will not impact your earning potential with too few ads. You can also specify which pages on the site should not display ads.
That’s it. Ads now will appear automatically on your wbesite without you having to manually place the ad codes.
6. Add GDPR and CCPA Cookie Message
To be accepted into Google AdSense, you must include a consent popup on your website and comply with GDPR and CCPA laws.
You can do it using a cookie consent plugin or use the Google AdSense built-in feature.
To use the built-in feature, navigate to the Privacy Messages tab on the same auto ads page and toggle both options to enable it.
When you enable the GDPR option, it will ask you to add a link to your privacy policy page. Add it in the box and choose the consent options.
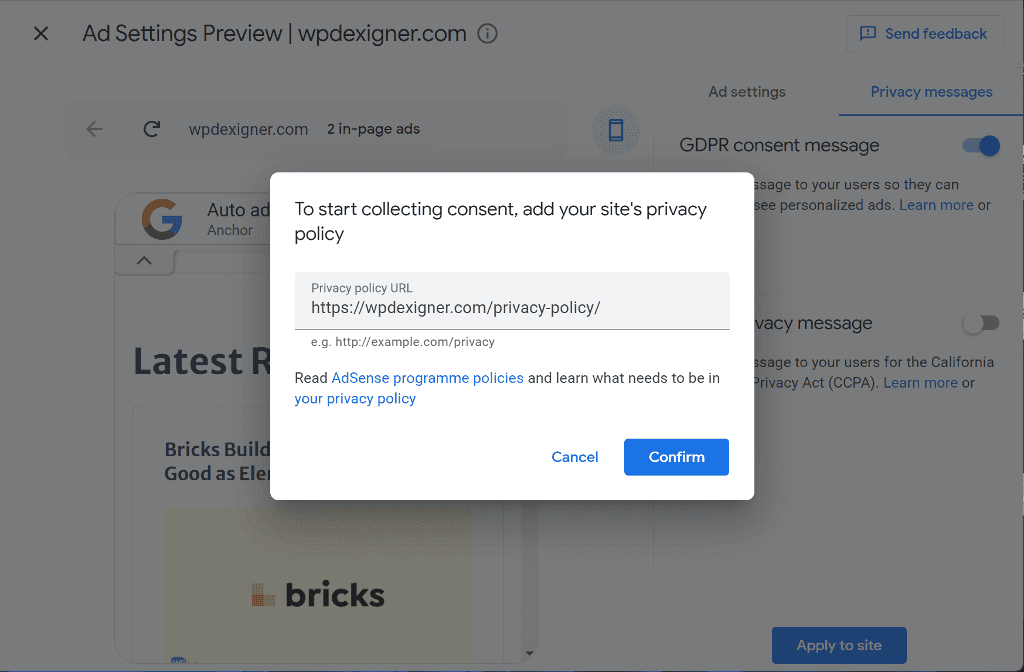
Repeat the same for the CCPA consent message.
That’s it. Now your website is compliant with both the laws.
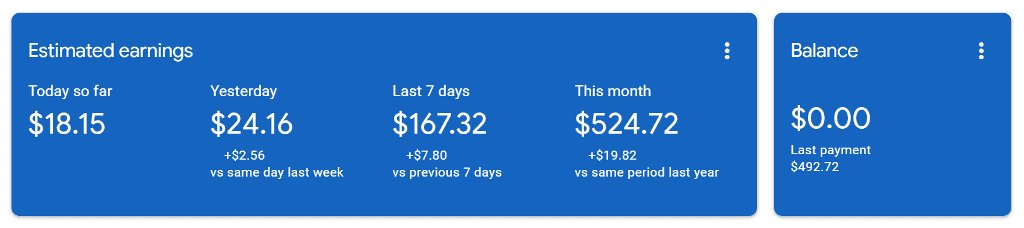
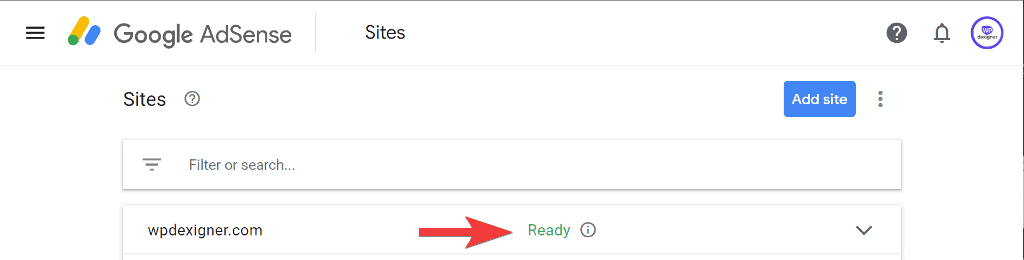
Google will take up to 2 weeks to review your site. You’ll get an email about the review, and if your site gets accepted, you’ll see a ready message in the dashboard.
Increase Your Chances of Approval
Google AdSense approval is not guaranteed, but there are a few things you can do to increase your chances. First, make sure your ad meets Google’s ad quality guidelines. Second, make sure your ad is placed in a high-traffic location. Finally, make sure you are providing high-quality content for your ad.
After getting approval for many websites, we discovered that blogs with 30 quality articles are more likely to be accepted into AdSense.
If you’d like to learn more about the approval process, Google AdSense has a YouTube playlist dedicated to what they look for in a website during the approval process.
Wrapping Up: How To Get Approval From Google AdSense
Applying for Google AdSense is not difficult, but there are a few things you need to keep in mind. By following the tips in this article, you will increase your chances of being approved.
If you’re serious about blogging and want to save time, I’ve put together a list of 30 free blogging tools to help you get more done in less time.