A favicon is a small image that’s visible next to your website name in a browser tab. The main purpose of a favicon image is to help users in visual recognition and identification of your website. It also servers for the branding of your website.
In this tutorial, we will show you how to easily add or change the favicon in WordPress using three different methods.
Why Should You Add a Favicon in WordPress?
In an online space, a favicon is an integral aspect of the website. It helps users locate your website when multiple tabs are opened in the browser. It also acts as an icon in the bookmark bar, browser history tab, and many more such places.

The favicon has an indirect impact on your website’s SEO. Some search engines, such as Google and DuckDuckGo, include the favicon in the search results. If your website has a favicon, it can help enhance click-through rates (CTR) from search engines.
A favicon is also necessary for increasing brand familiarity and trust. Users may lose faith in a website if the favicon is missing, resulting in higher bounce rates.
Generate Favicon for Your Website
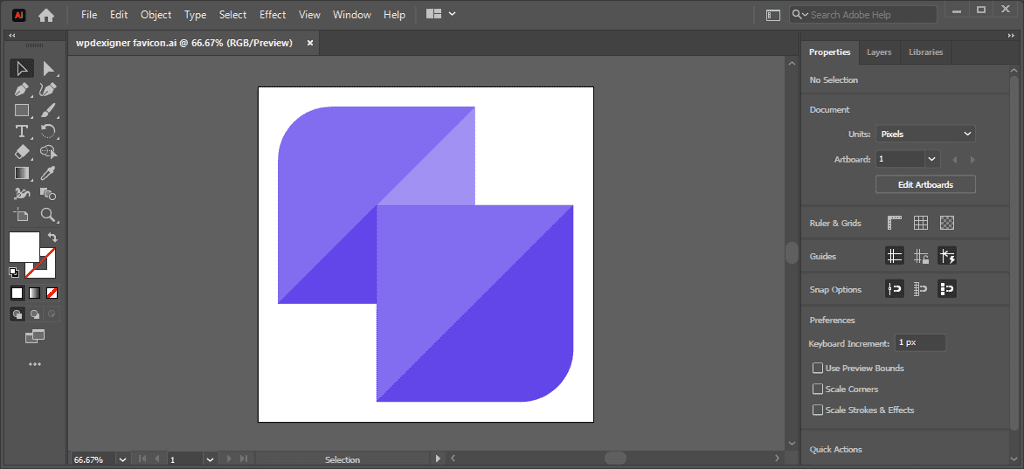
Most modern browsers support favicon in the PNG and JPG image format. You can make your favicon using photo editing software such as Adobe Photoshop or Adobe Illustrator.
If you don’t know how to use these tools and want a free and simple favicon generator, you can use the free Canva graphic design tool. There is no need to download or install any software because you can simply use Canva from the browser.
How to Change Your Favicon in WordPress?
A favicon is typically a smaller and shorter version of the logo. It adheres to the same design principles as a logo and has a minimum size of 16×16 pixels.
You can easily add the favicon image in WordPress from the customizer. If you are unable to add or change your favicon through the WordPress customizer, we have two more options for you.
- Add Favicon Using the WordPress Customizer
- Install a Plugin to Add Your WordPress Favicon
- Manually Adding Your Favicon Through cPanel
Let’s first see how to set a website favicon using the WordPress customizer.
1. Add Favicon Using the WordPress Customizer
The easiest way to set favicon in WordPress is through the customizer. No matter what theme you use, the steps to add a favicon will be similar.
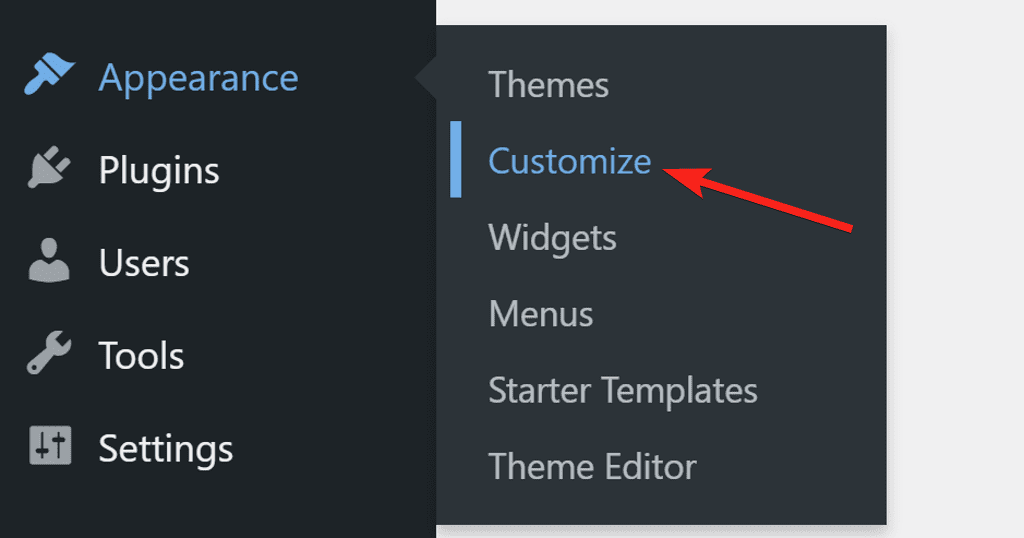
To change the favicon, log in to your WordPress dashboard and go to Appearance → Customize.
This will open up the WordPress customizer. The customizer will have options arranged differently based on the theme you use on your website.
For this tutorial, I will show the screenshots of the Blocksy Theme customizer.
In the customizer, scroll down to look for the Site Identity option and click on it.
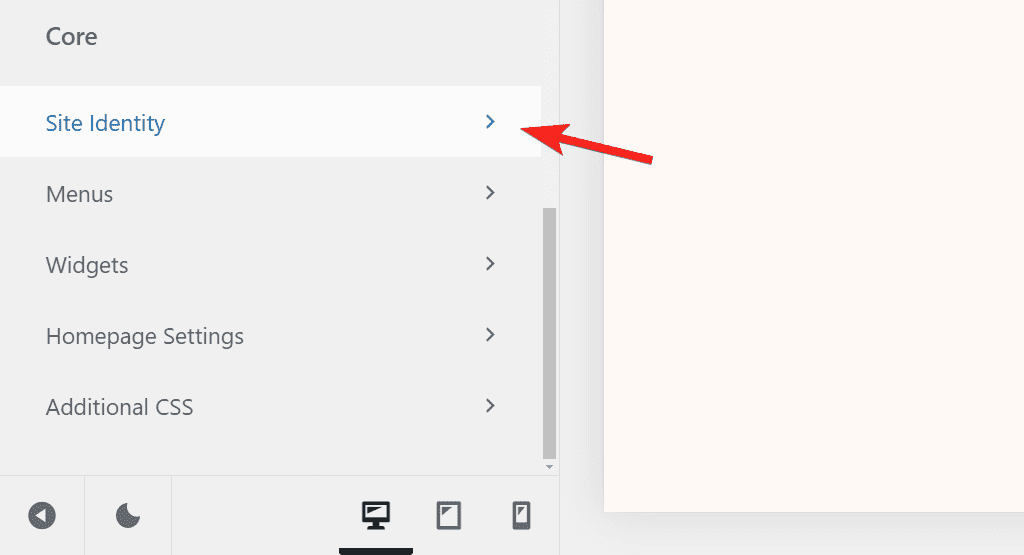
Here, you will see the field to set your Site Title and Tagline. In addition to that, you will also find the option to set your Site Icon. The site icon you set here will act as the favicon picture for your site.
If you are adding a favicon for the first time, click the Select Site Icon button and upload your favicon image to the WordPress media library.
If you already have a favicon and want to change it, click the Change Image option and upload your favicon to the library.
Once you have set the favicon, don’t forget to click the Publish button at the top to save the changes.
This method is easy and does not need any additional plugin to be installed.
2. Install a Plugin to Add Your WordPress Favicon
The benefit of using a plugin is that it generates all of the icons you require for desktop browsers, iPhone/iPad, Android devices, Windows devices, and other platforms.
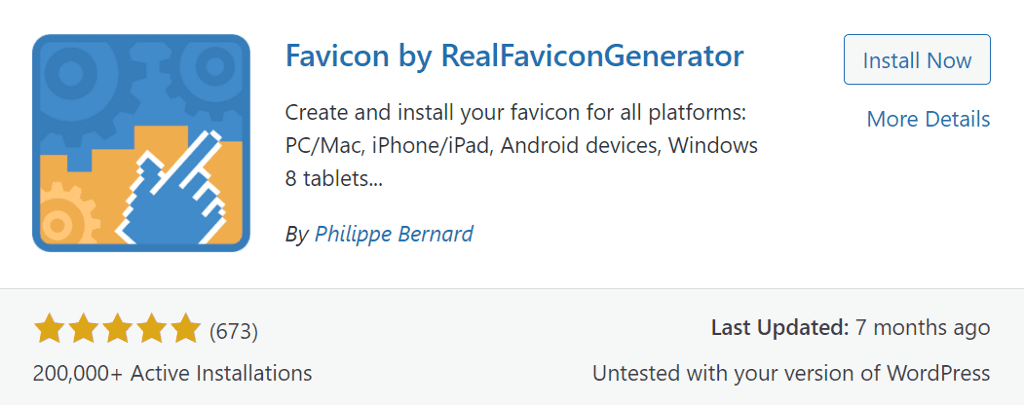
Favicon isn’t just about adding an icon file to your website and using it as a favicon. Various device platforms have different UI guidelines and the RealFaviconGenerator plugin helps you create compatible favicons for different platforms.
To set favicon using the plugin, you first need to install and activate RealFaviconGenerator from the WordPress plugin directory.
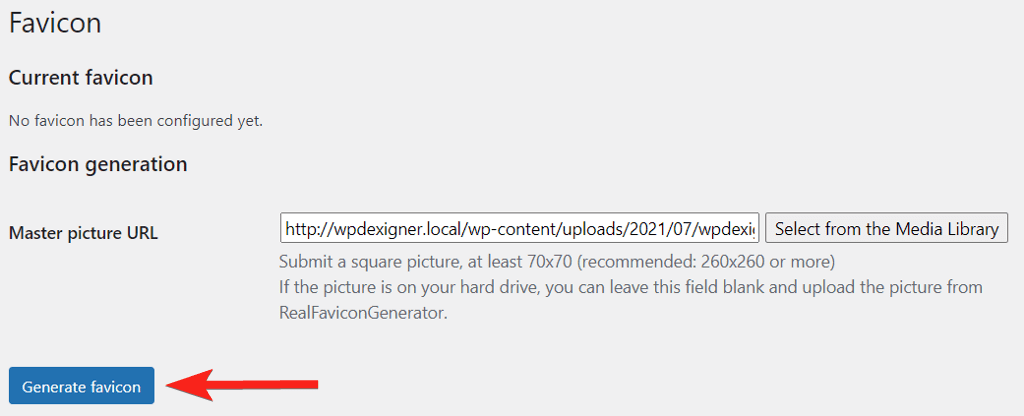
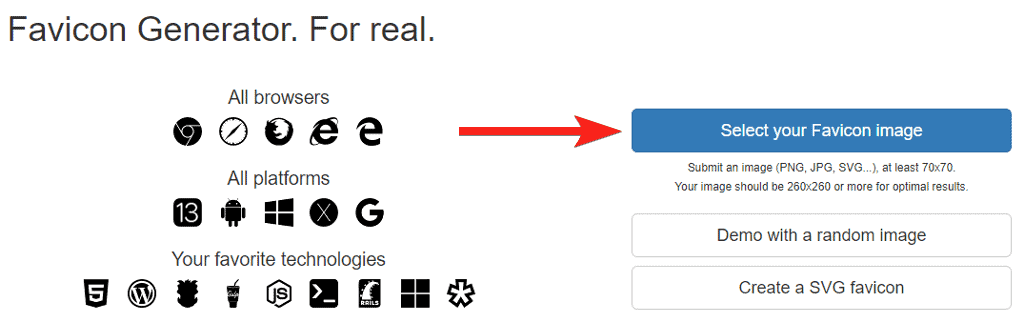
After installing the plugin, navigate to Appearance → Favicon and select or upload an image with a minimum size of 70×70 pixels. The recommended size for a favicon is 260×260 pixels.
After selecting the image, click on Generate Favicon and WordPress will take you to the RealFaviconGenerator.
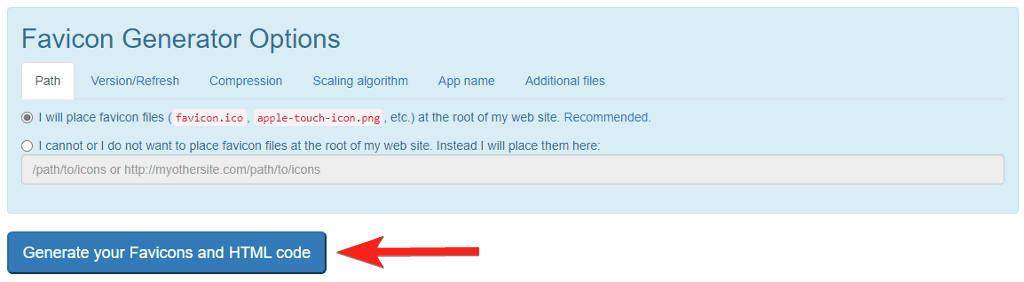
On the website scroll down and select Generate your Favicons and HTML code.
The plugin will take you back to the WordPress dashboard and you should see the success message at the top. It will also show you the preview of how your favicon will look on different devices.
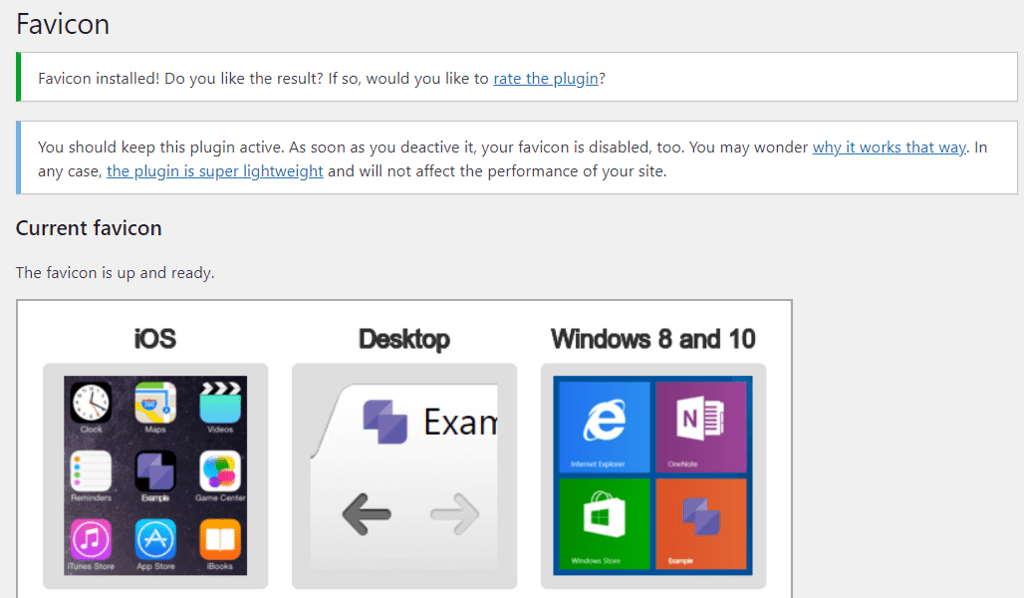
Do note that you need to keep the plugin active for the favicons to show on your website. If you deactivate or uninstall the plugin the favicon from the plugin will not work.
3. Manually Adding Your Favicon Through cPanel
Another method of adding favicon in WordPress is through the File Manager if your web host uses cPanel. If your web host uses a different platform, you can use FTP to upload the favicon file.
RealFaviconGenerator, in addition to the plugin, allows you to build the favicon package. To generate the package, go to the RealFaviconGenerator website and upload your favicon image.
Scroll down, select the radio option ‘I will place favicon file..‘ and click the Generate your Favicons and HTML code button to generate the favicon package.
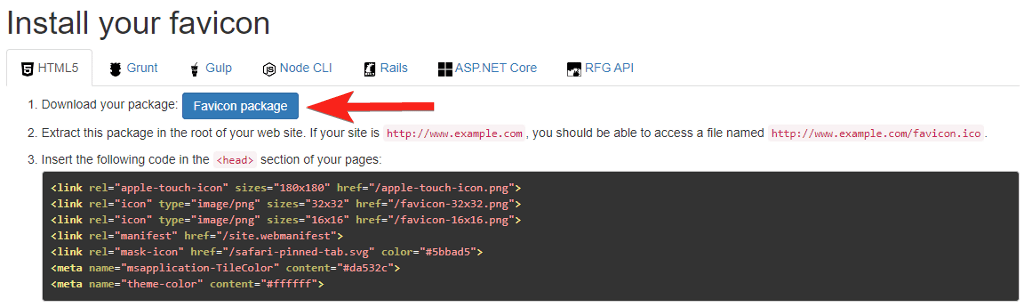
On the next page, under HTML5, click Favicon package to download the zip file. Also, copy the HTML code and keep it safe somewhere. We’ll later need this code to add to our website <head> section.
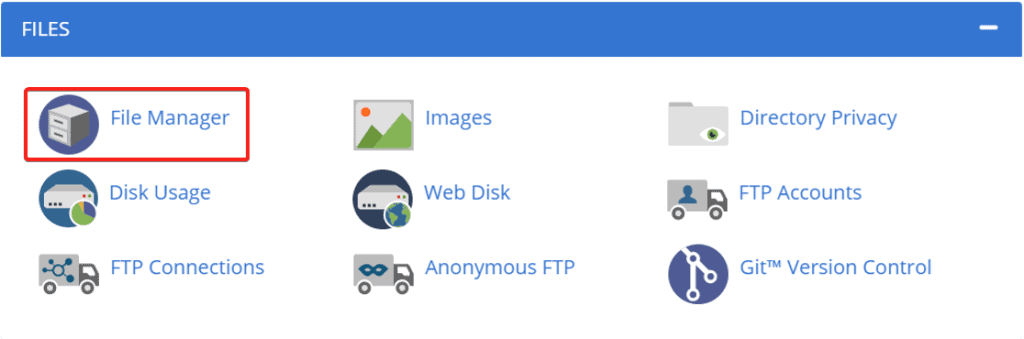
Now, log in to your hosting cPanel and open the File Manager.
Upload the favicon package zip file to your website’s root directory and extract it.
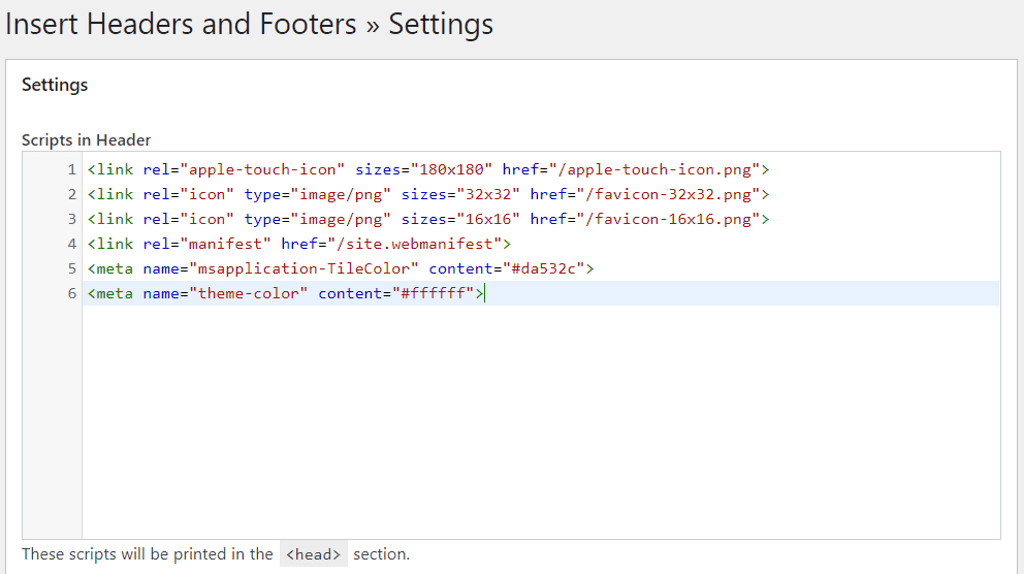
Next, install the Insert Headers and Footers plugin and navigate to Settings → Insert Headers and Footers. Now, paste the code we copied from the RealFaviconGenerator site into the Scripts in Header box in the plugin settings. Make sure to click Save Changes for the effect to take place.
Using a plugin to insert the code into the header is recommended because you will not lose your favicon if you change the theme later.
That’s it! Now you know how to add or change favicon in WordPress using three different methods.
FAQ Related to Favicon in WordPress
-
How to Change WordPress Favicon in Elementor?
If you use Elementor, you can change the favicon from the Elementor editor. Open any page in the Elementor editor and click the hamburger menu on the top left. Now, navigate to Site Settings → Site Identity and scroll down to find the Site Favicon option. Select or upload your favicon image and Publish the changes.
-
Why Is My Website Icon Not Showing?
Sometimes, after adding a favicon to your site, it may not appear immediately in the browser. This might happen if you use a caching plugin on your website. To make the favicon appear, clear the browser cache from the caching plugin settings.
-
How do I change the favicon in WooCommerce?
To change the favicon in WooCommerce, follow the same steps as you would in WordPress.
Conclusion
Adding a favicon to your site is very important as it plays a part in brand recognition. WordPress provides native support to add or change the favicon from the customizer. If you’d like to add full support for different devices, there are other methods using a plugin or uploading it through cPanel.
If you find this article helpful, please consider sharing it on social media. Also, do let me know if you face any problems in the comment section below.